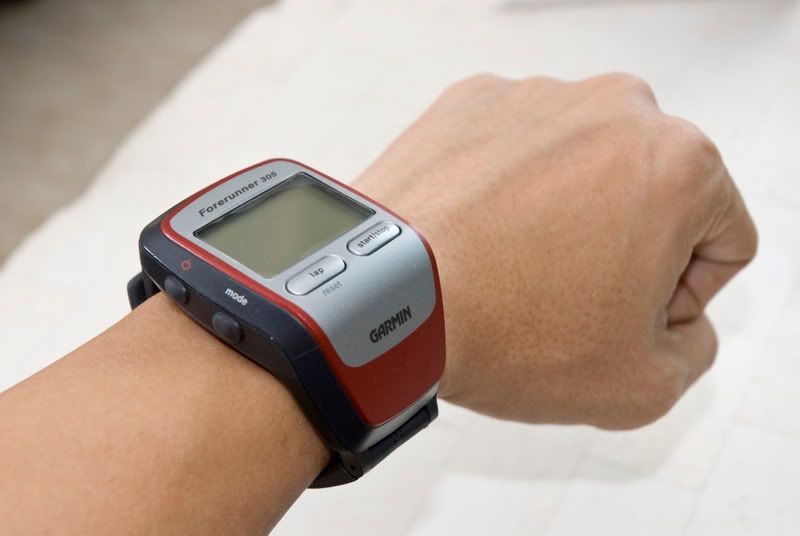
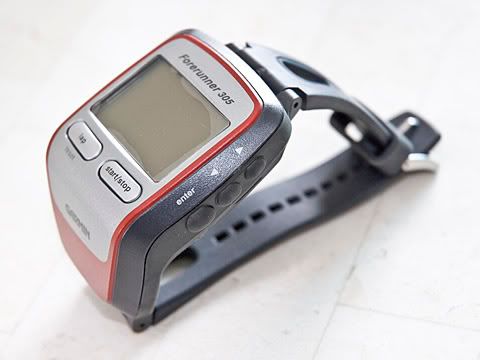
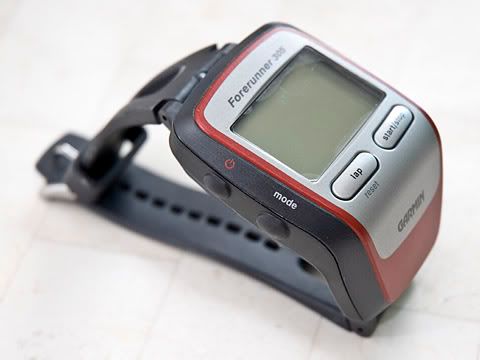
The watch has a total of 7 buttons, two on the front, two on left side and three on the right side. The two in the front are the START/STOP and LAP(RESET) button. The RESET is to reset the time counter to zero (i.e. start a new count) rather than reseting the watch. Navigation of the menu is done by the buttons on the left and right side which has the POWER button, the MODE button which also acts something like previous, the UP/DOWN button and the ENTER button.
Use of the Watch
You start the watch by holding the POWER button for two seconds. After it started, it will first search for the satellites.
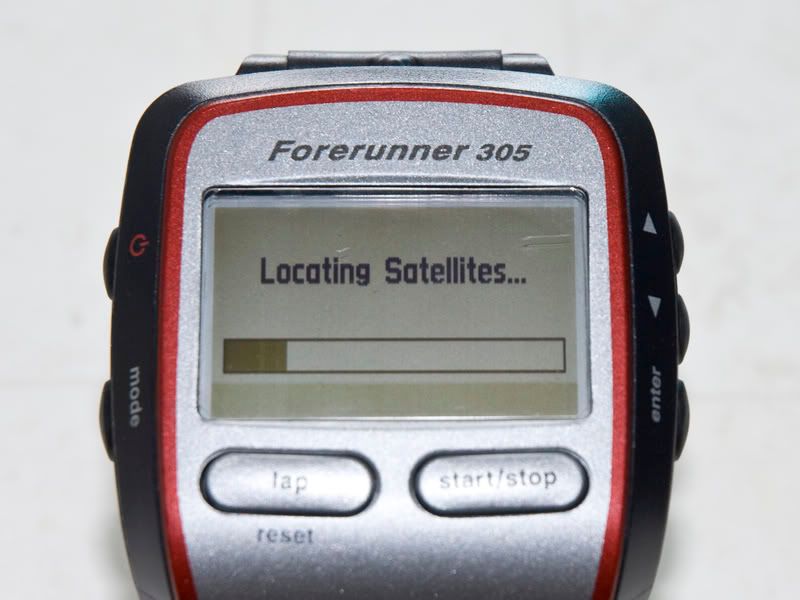
It is not easy to get the initial lock. If you are indoor, placing the watch near a window will not get you a lock. From my experience, you need to have at least 2/3 of the sky open in order to get a lock. You can improve the locking by facing the Garmin logo upwards. I typically will take my watch off, face the Garmin logo upwards, get a lock and then start using it. You can see the individual satellites' status as well.
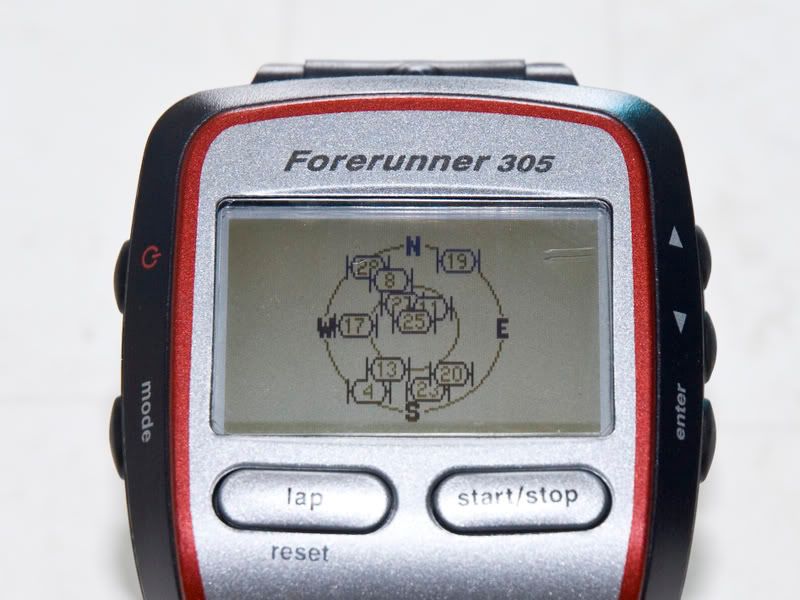
In my experience, once you get a lock, it tracks the satellites pretty well. Even you run under the tree with heavy tree coverage (e.g. MacRitchie), or temporarily run under an overpass, it still gets a good track. Even inside a rain shelter with one/two sides open, it can still tracks the satellites. But the initial lock can take anywhere from 15 seconds to 5 minutes. There are times that I just don't want to wait and just start running. It will eventually get locked to the Satellite but it may take a even longer time. I have a case that it took 1.5km of run to get locked. Please take note that when you are moving, it takes longer time to lock. Therefore, it is better for me to remain stationary to get a lock. Or sometimes I will take the watch off, put it on the ground and do some warm up. And when I finish the warmup, it typically will get the lock.
The watch has a very flexible display. It has two main display, 1 running display, 1 cycling display and 1 for other sports. In each display, you can define to display 1 to 4 data fields. Each data field can choose the data that you want to display. It is very flexible. I generally put the different combination of data I want into the two main + running display and I can easily cycle through them by pressing the up/down button during the run. You can also set it to scroll automatically but I think the auto-scroll mode is more for cycling use. The only part that I want is to allow displaying pace & speed at the same time. In the current software, you have to choose displaying either pace or speed but not both. (noted that the blue tint below is not seen on the watch, it is caused by the difference of the camera shutter speed and the LCD refresh rate)
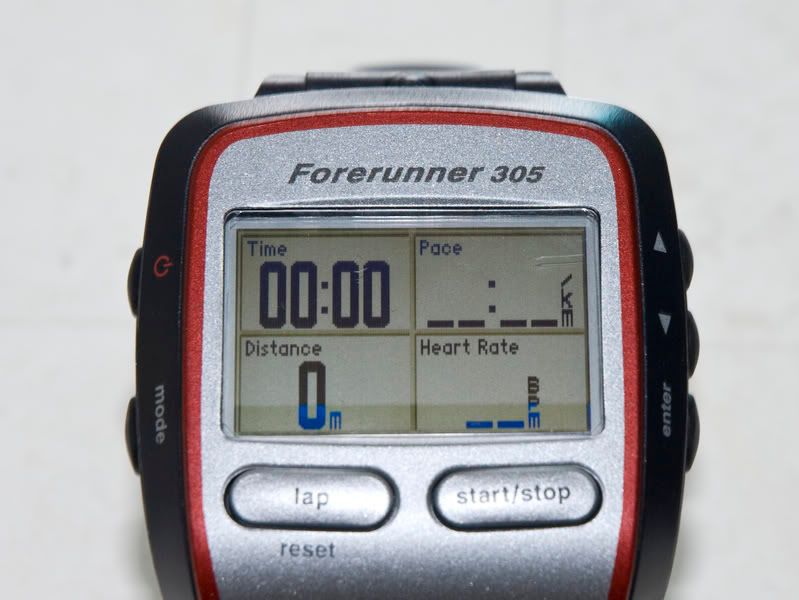
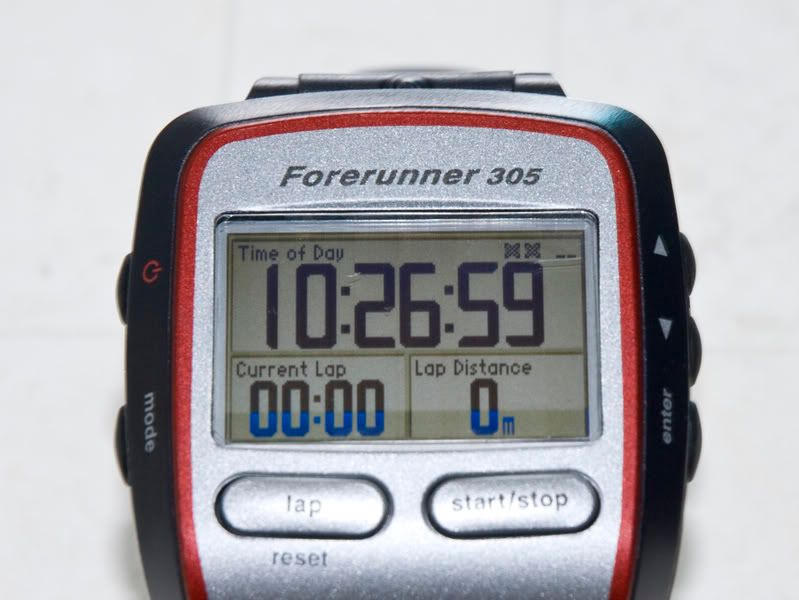
The display is crisp and very readable. At night, you can press the POWER button once to turn on the green color backlight temporarily.
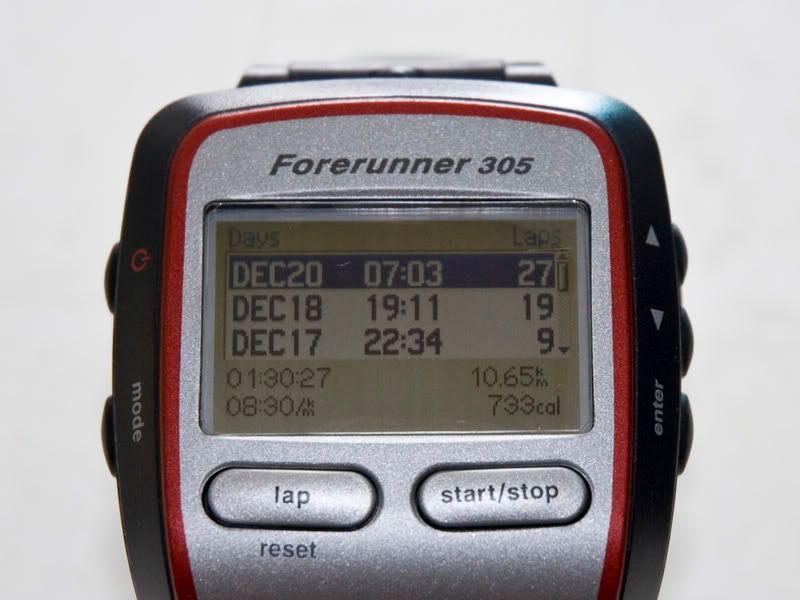
The watch can record and store my route. If I use the per second data recording which will record at every second, it can only store 3.5 hours of activities. However, if I choose Smart Recording which only create a record every couple of seconds, it can record many, many times more. I only need to start deleting data after 3 months of usage with total of around 40 hours of workout. I can view the activities on the watch. However, please take note that the rechargeable battery inside the Forerunner 305 can only last up to 10 hours, possibly less when it is not new. Therefore the Forerunner is not really for Ultra Endurance activities (e.g. 60km or more).
One of the advantage of the GPS watch vs a footpod based watch is the map. I can draw my running route on Mapmyrun site and download a copy in .GPX format. Then, I can upload it to the watch as a course via Garmin Training Center. The map will show up on the watch. The elevation data also be loaded into the watch which is much more accurate than the elevation data detected via GPS. You can select to view the elevation profile which helps you to plan your tactics.
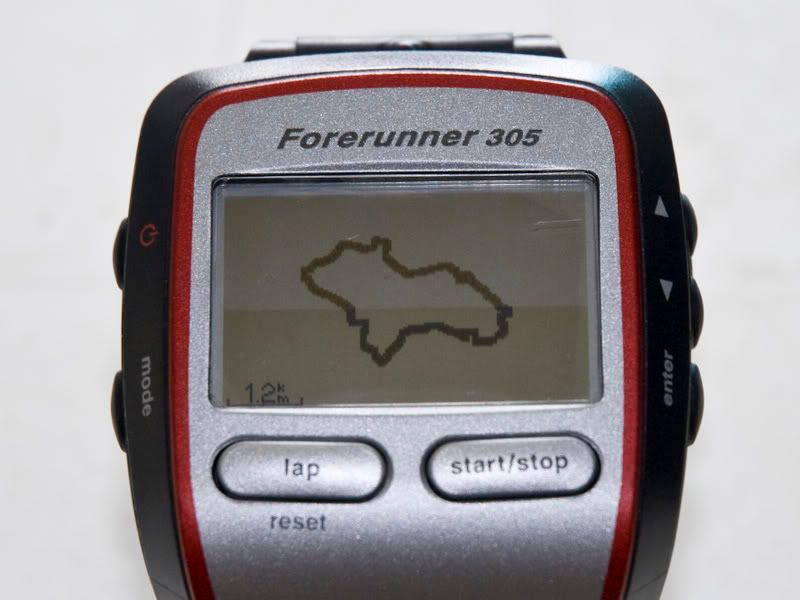
When I run, the map will show my position on the course. It will also calculate how much longer to go based on my average pace. If I run off-course, it will alert me as well. And if you set an average pace in the .GPX file, you can "race" with the virtual partner which is set at the average pace. The watch will show the relative position in distance between you and the virtual partner. It is kind of nice to motivate me to run.
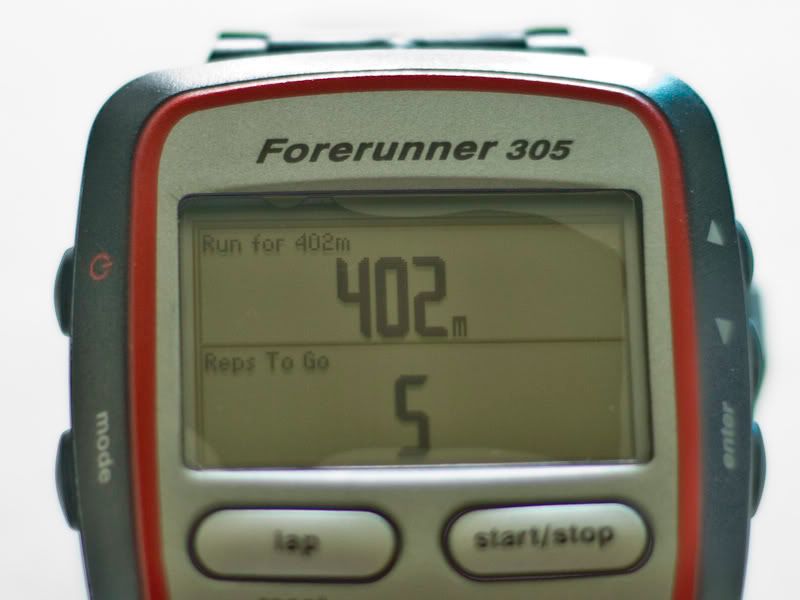
Garmin also comes with training feature. So far, I only use one - interval training.
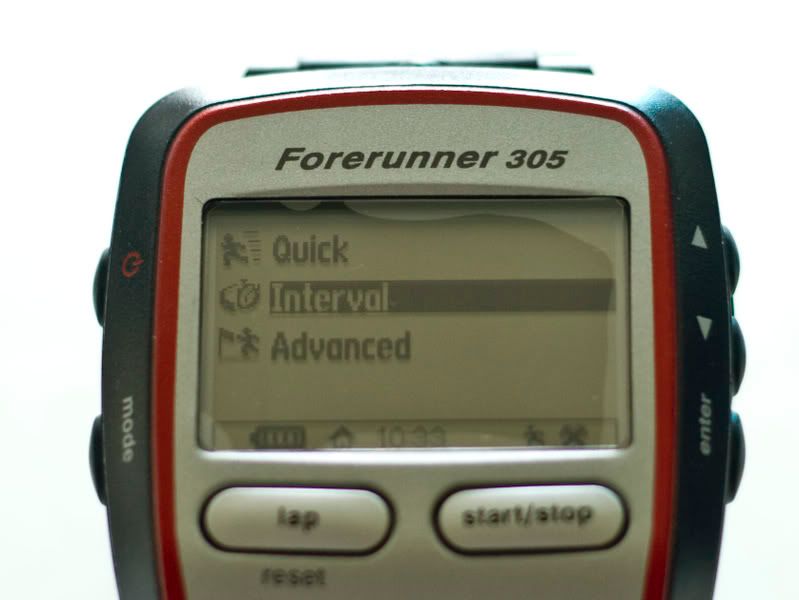
It is pretty flexible, you can set it by distance or by time for the run/rest. Then, you can set the detail and the number of repetition.
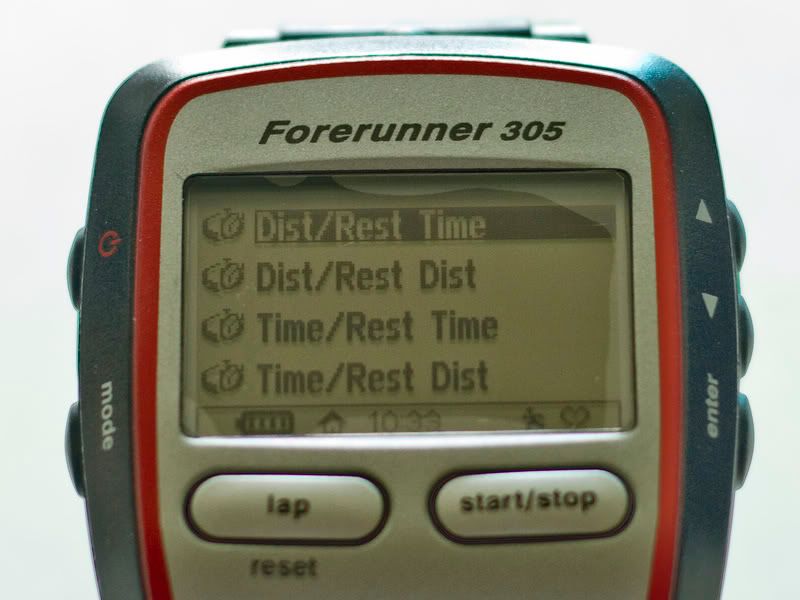
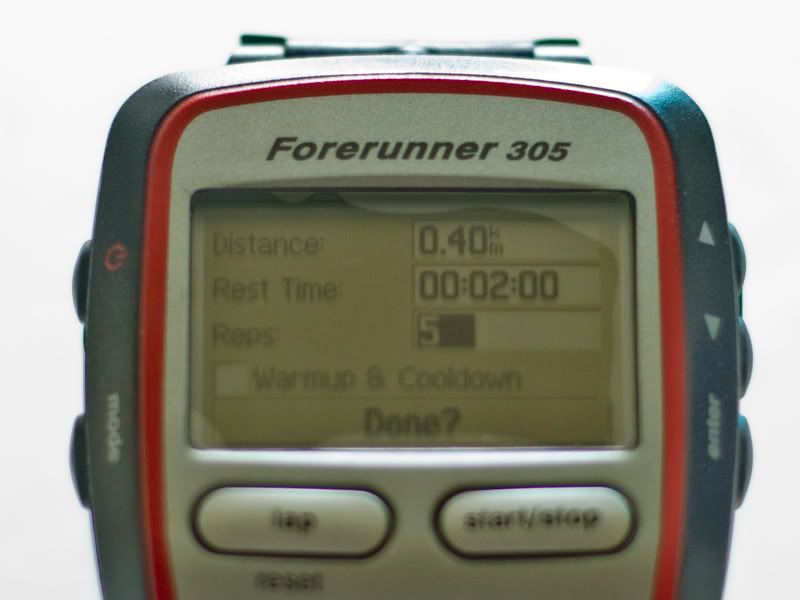
When using the interval training, the watch will show you the current status and have a countdown alert for you to switch between run & rest. However, the speaker which is located at the back of the watch is very weak. I can hardly hear the alert on the road but it is okay if I am running in a stadium which is much quieter.
to be continue in part three and link to part one.
No comments:
Post a Comment